How To Install Your Winnerwell External Air Stove with a Homecamp Tent
An easy step-by-step guide
Before setting up your Winnerwell stove, install the Flashing Kit around the Stove Jack positioned on the roof of your tent.
For an in-depth tutorial on how to install your External Air Stove and Flashing Kit, watch the video here.
Before installing, make sure you have the right size Flashing Kit for your Triple Wall Chimney. The silicone flashing kit should fit snugly around the chimney piece, if very tight a small amount of grease like petroleum jelly can be used.
To get started, unbox your stove, fold out the legs and carefully remove the flue pieces from inside the stove body. Install your flue pieces, with the Triple Wall Chimney installed no lower than the 3rd position from the stove (this will depend on the roof height of your tent, for the Cabin and Tipi Tent the Triple Wall Chimney will be in the 3rd position, for Bell tents the Chimney with be in the 4th position).
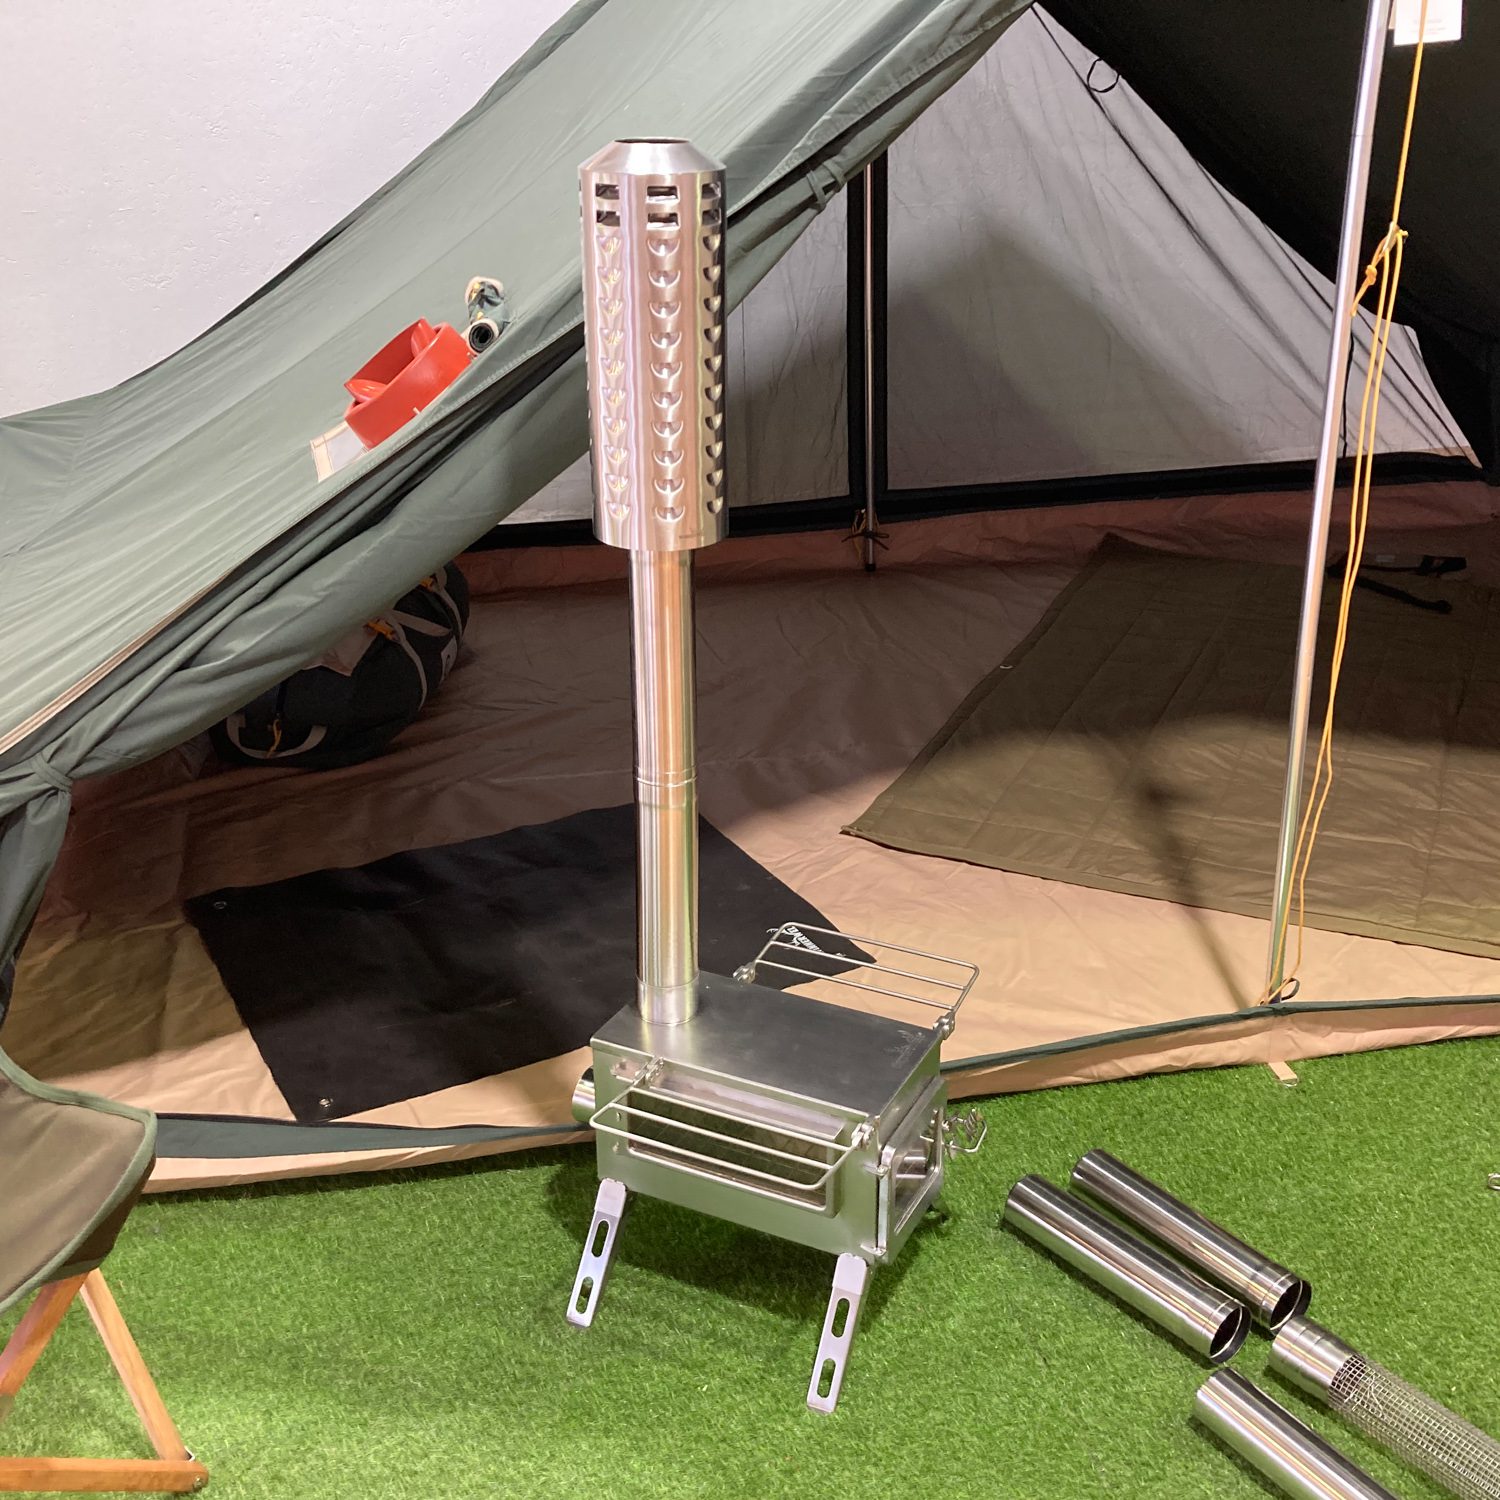
Place the stove inside the tent and feed the Triple Wall Chimney Section into the Flashing Kit (always use a Fireproof Matt under your stove to protect the floor of your tent).
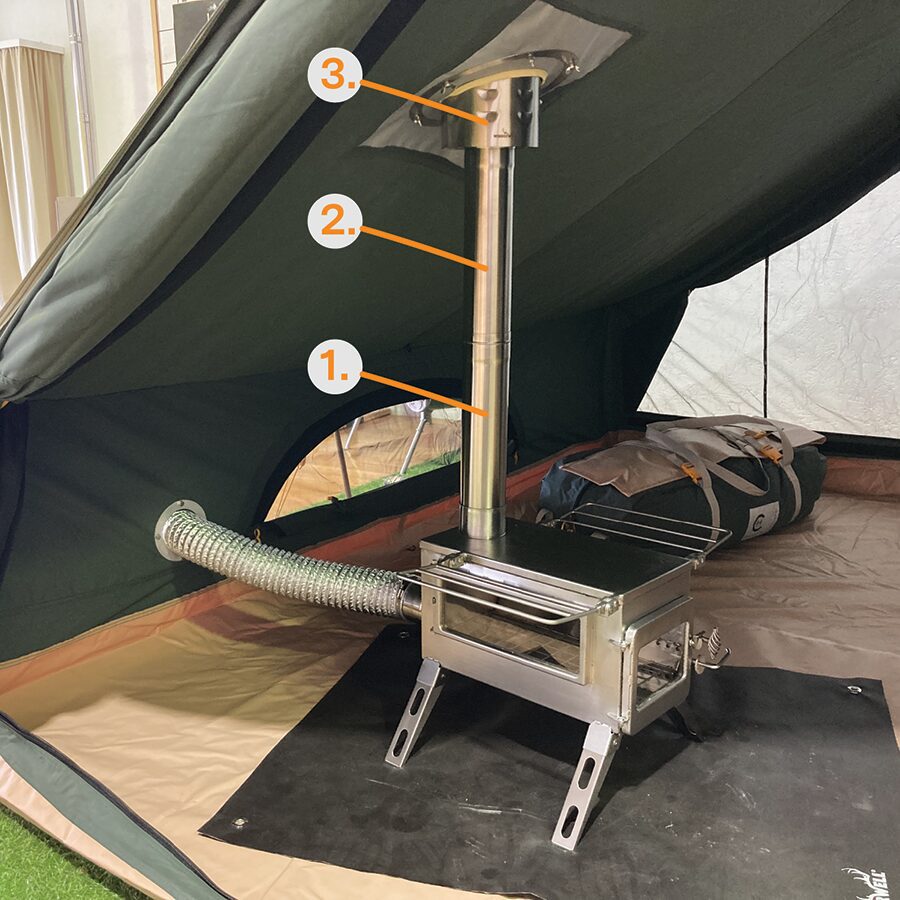
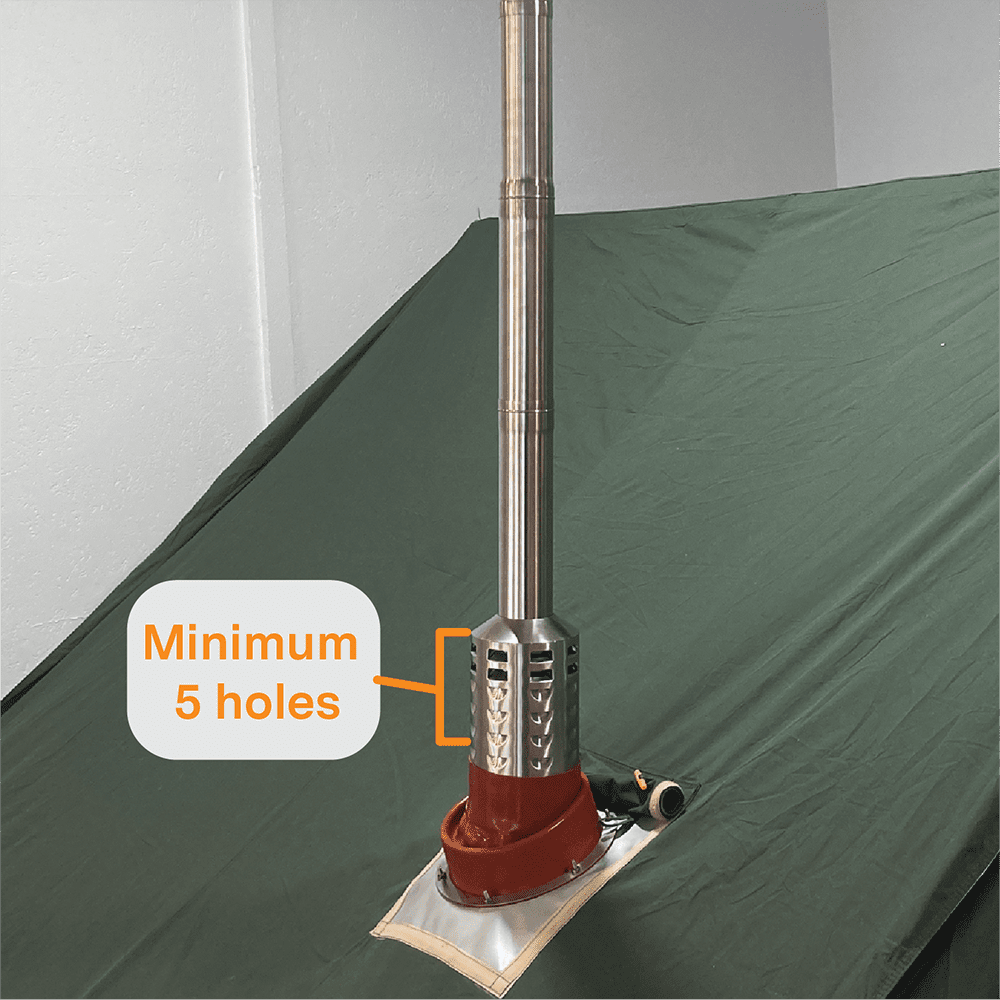
Once the Triple Wall Chimney is installed with the Flashing Kit you can add the remaining flue pieces and spark arrester from the outside of the tent.
Ensure a minimum of 5 holes are visible between the top of the Chimney and Flashing Kit.
Installing the Winnerwell Opener and Seal Set.
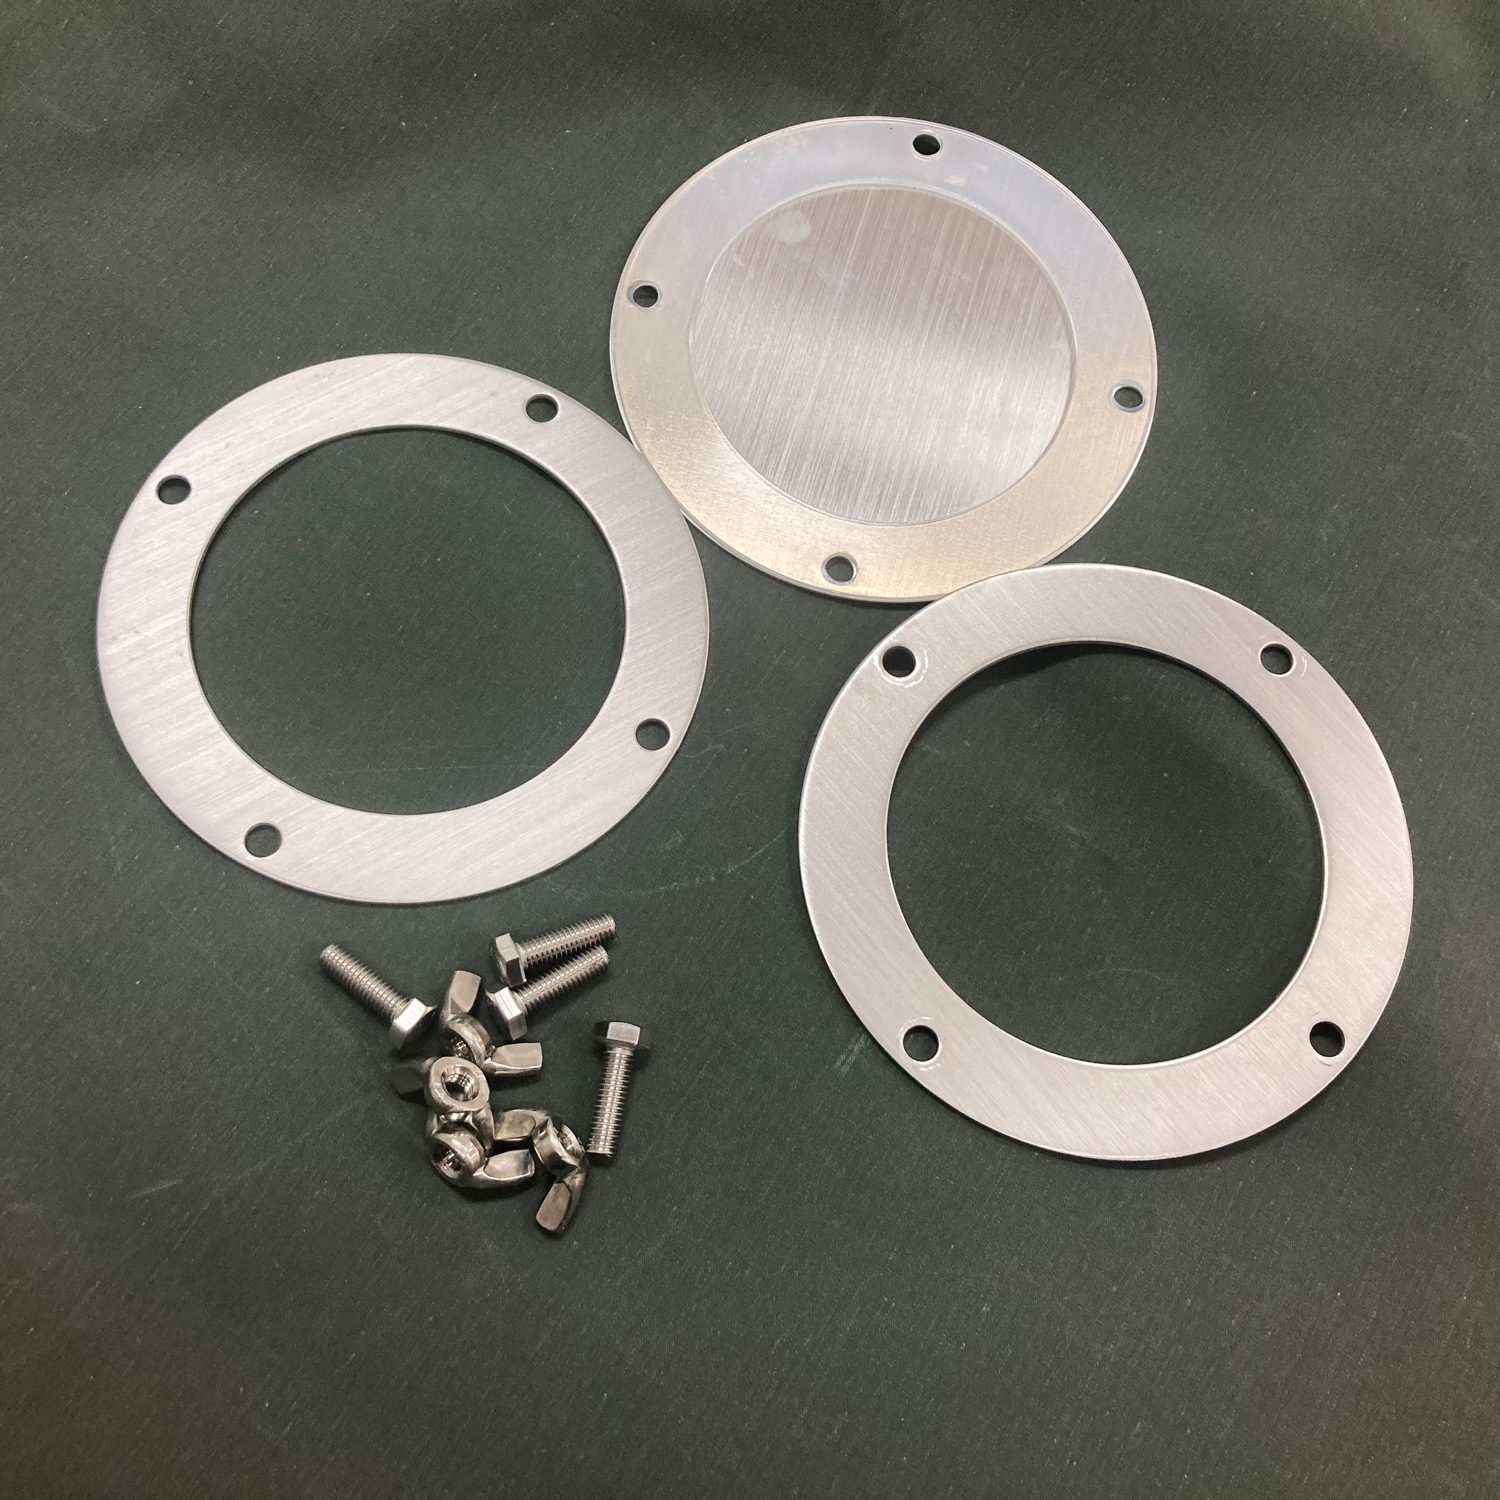
The Opener and Seal Set provides a secure exit point in the wall of your tent for the External Air intake hose.
The Opener and Seal Set Contents:
- 2 x rim plates
- 1x rain plate with silicone seal
- 4 x wing nuts
To Install:
- Find a position on the wall of your tent, behind your stove at the same height as the hose input at the rear of the stove. (If using a Bell Tent, unzip the mesh wall section until you can access the canvas wall behind the stove)
- Take a Rim section and using a pencil, mark out the holes provided for the wing nuts.
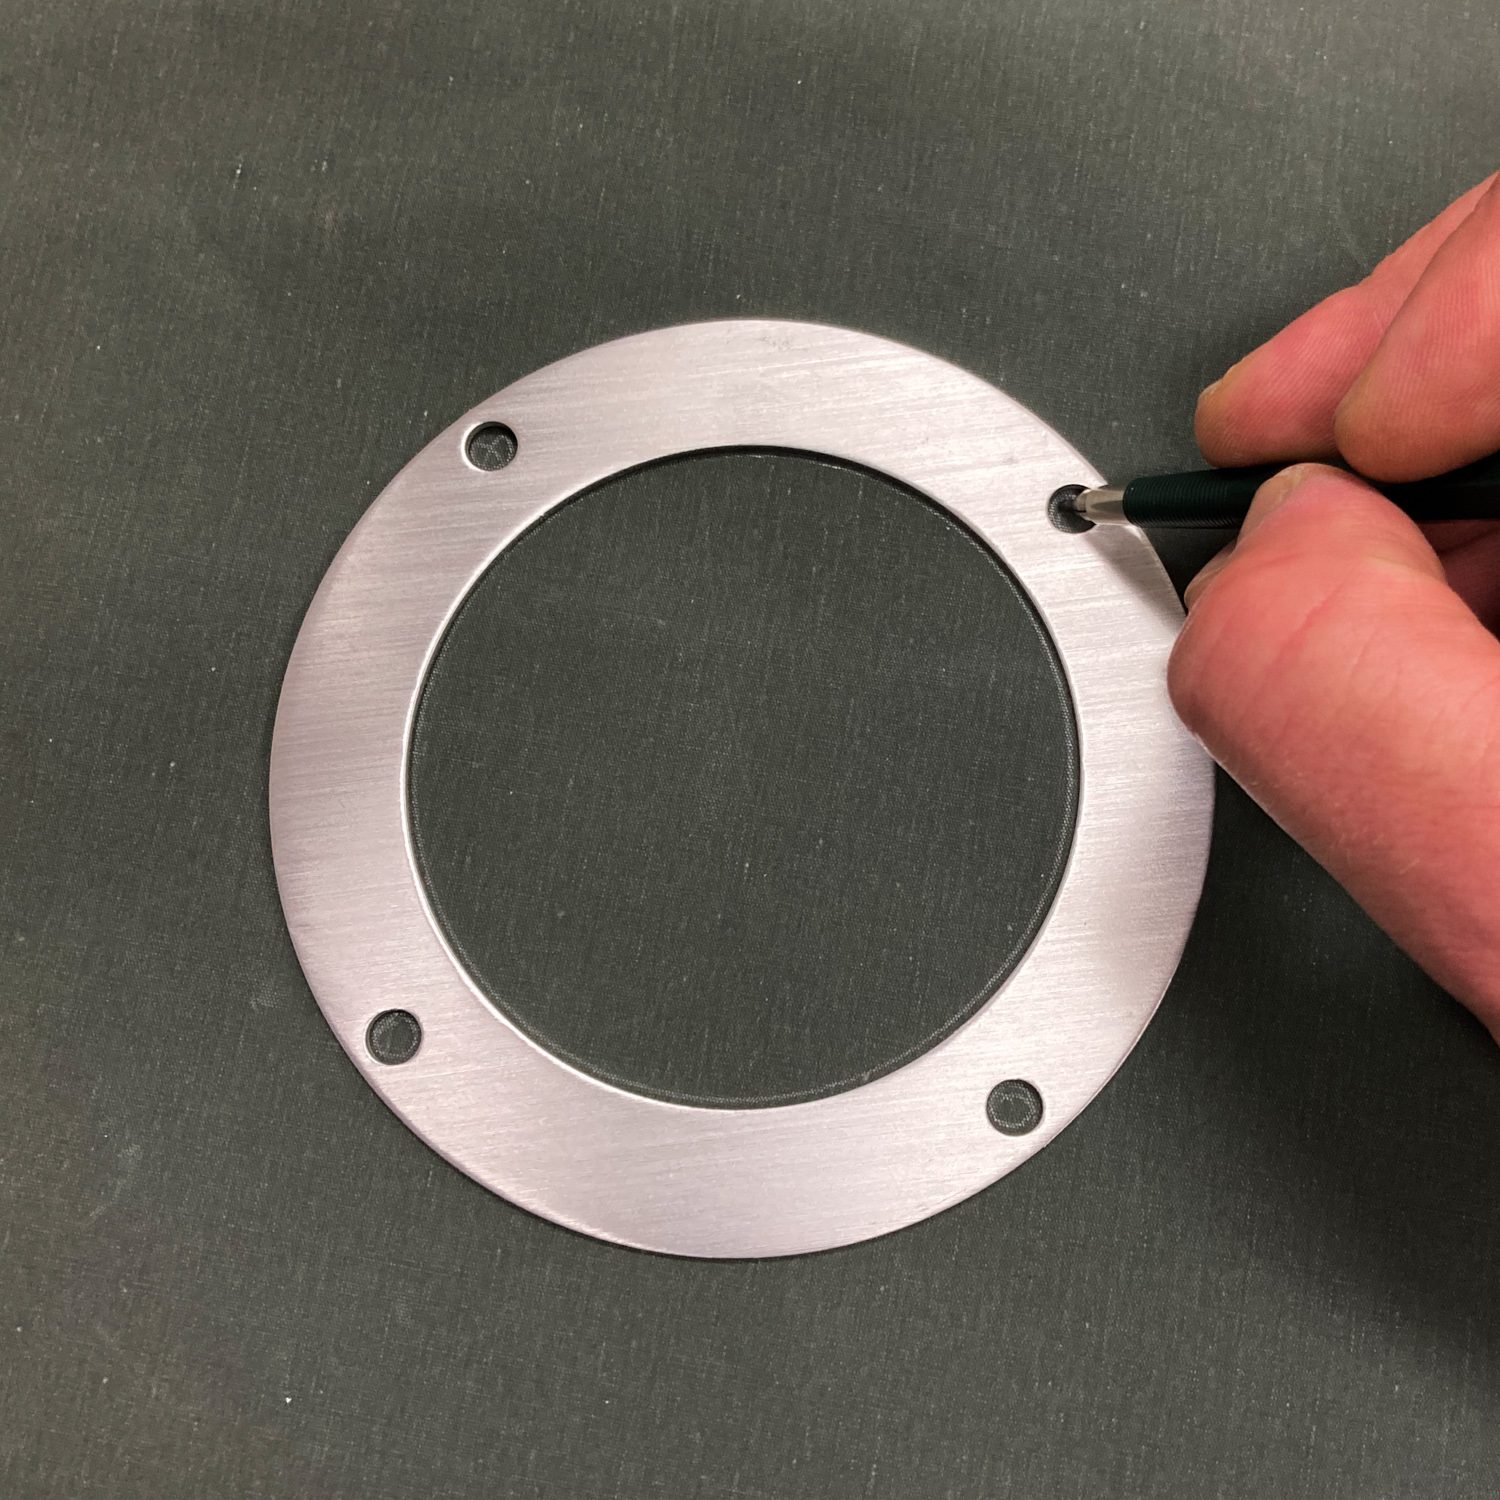
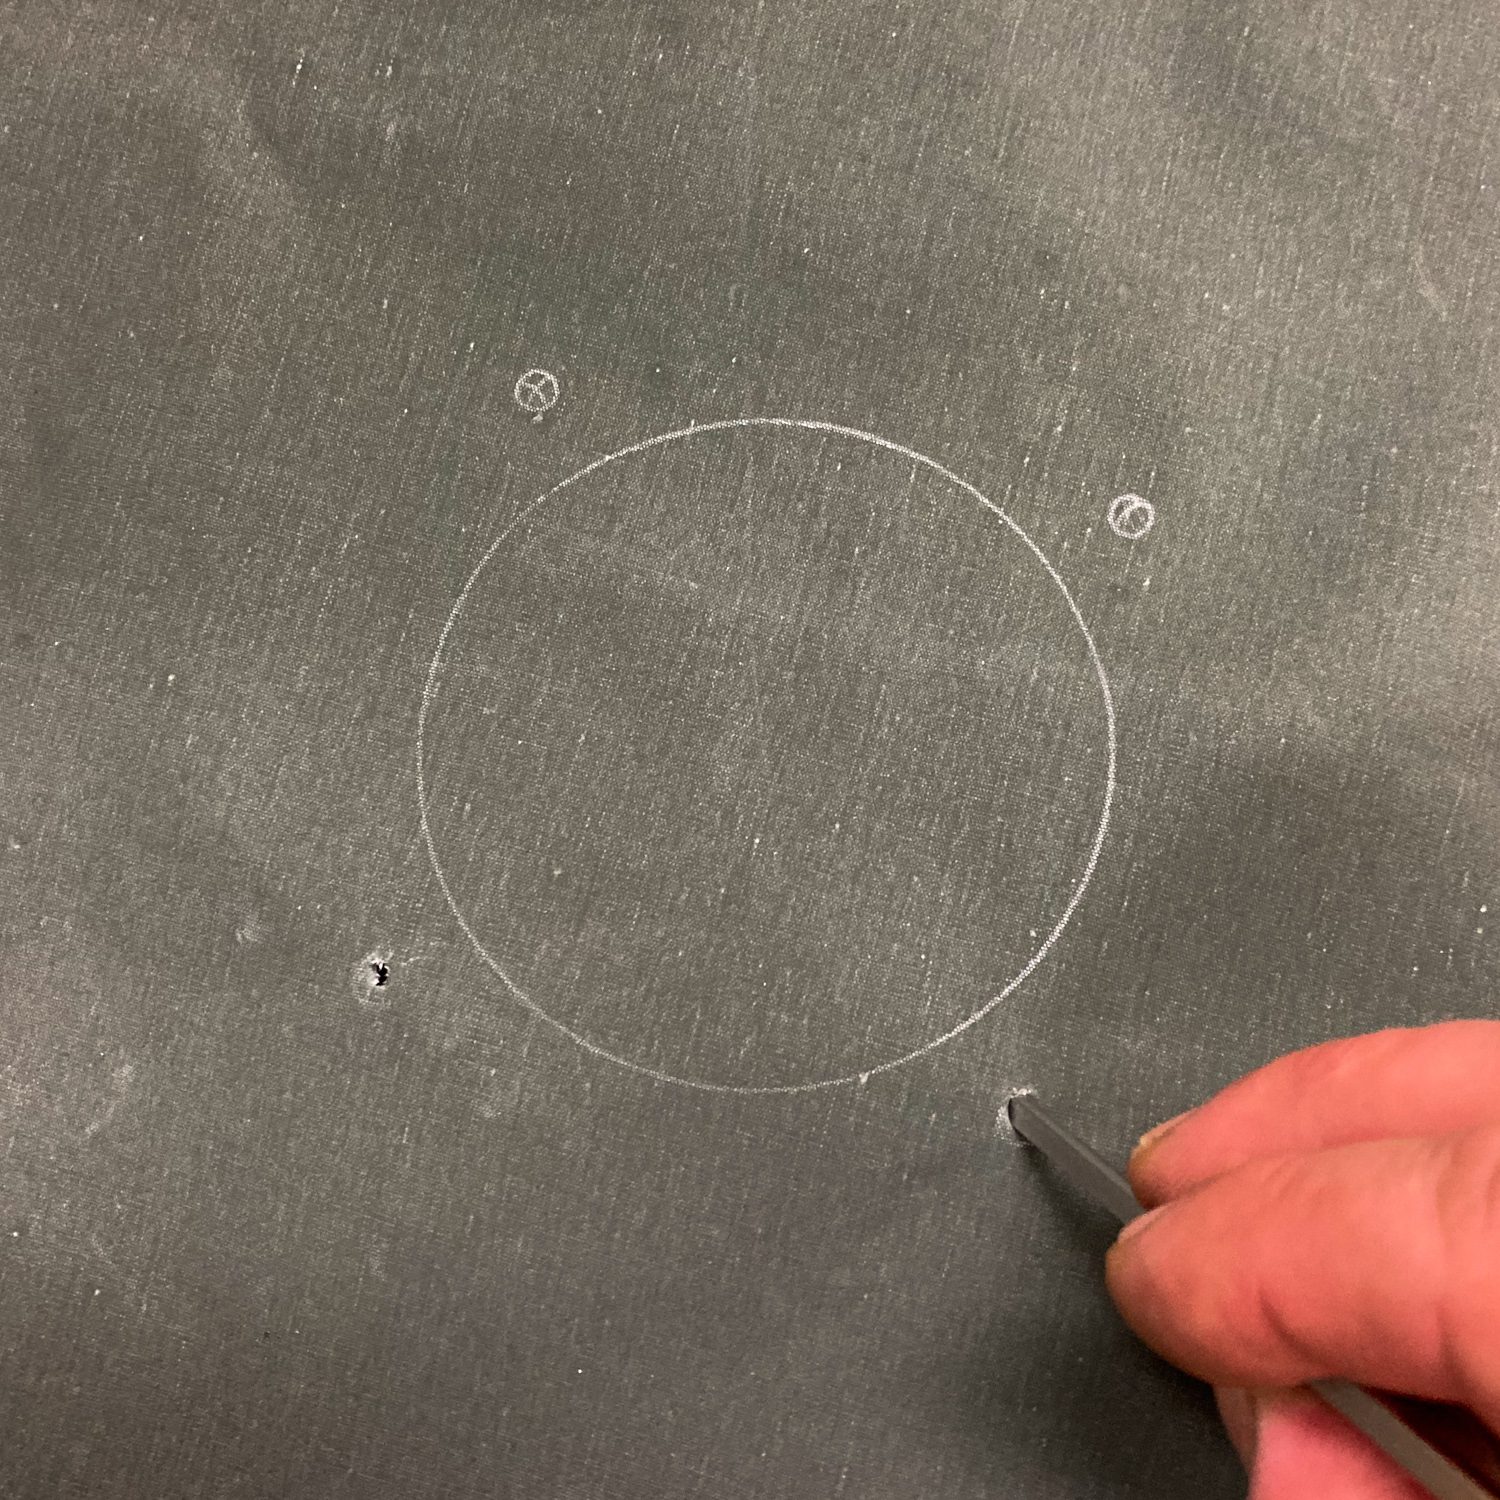
- Once holes are marked, take a sharp pointed object (like a nail or metal skewer) and carefully pierce holes for the wing nuts.
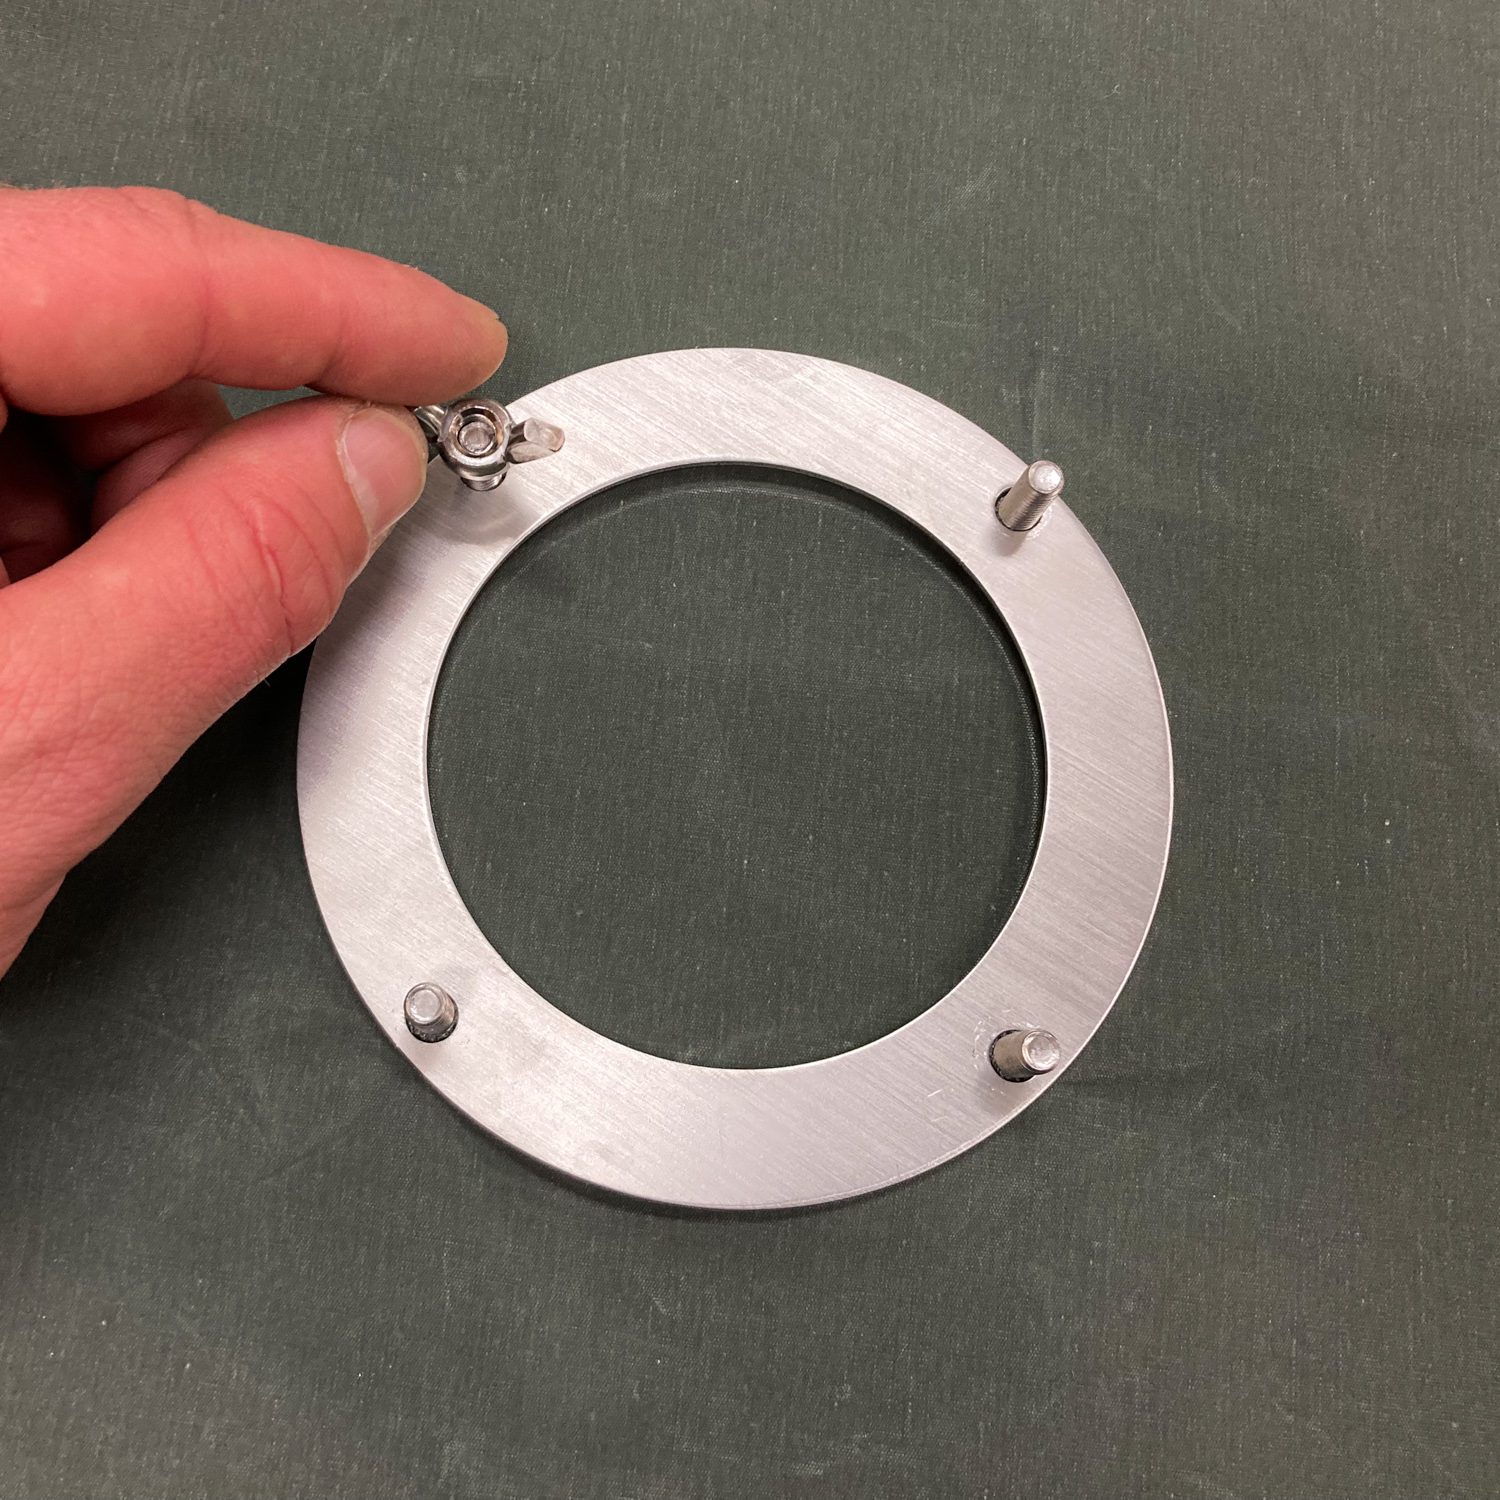
- Put the Rim back in place and press the wing nuts through the holes, fixing the backing rim and nuts to the rear side of the canvas. Tighten the wing nuts.
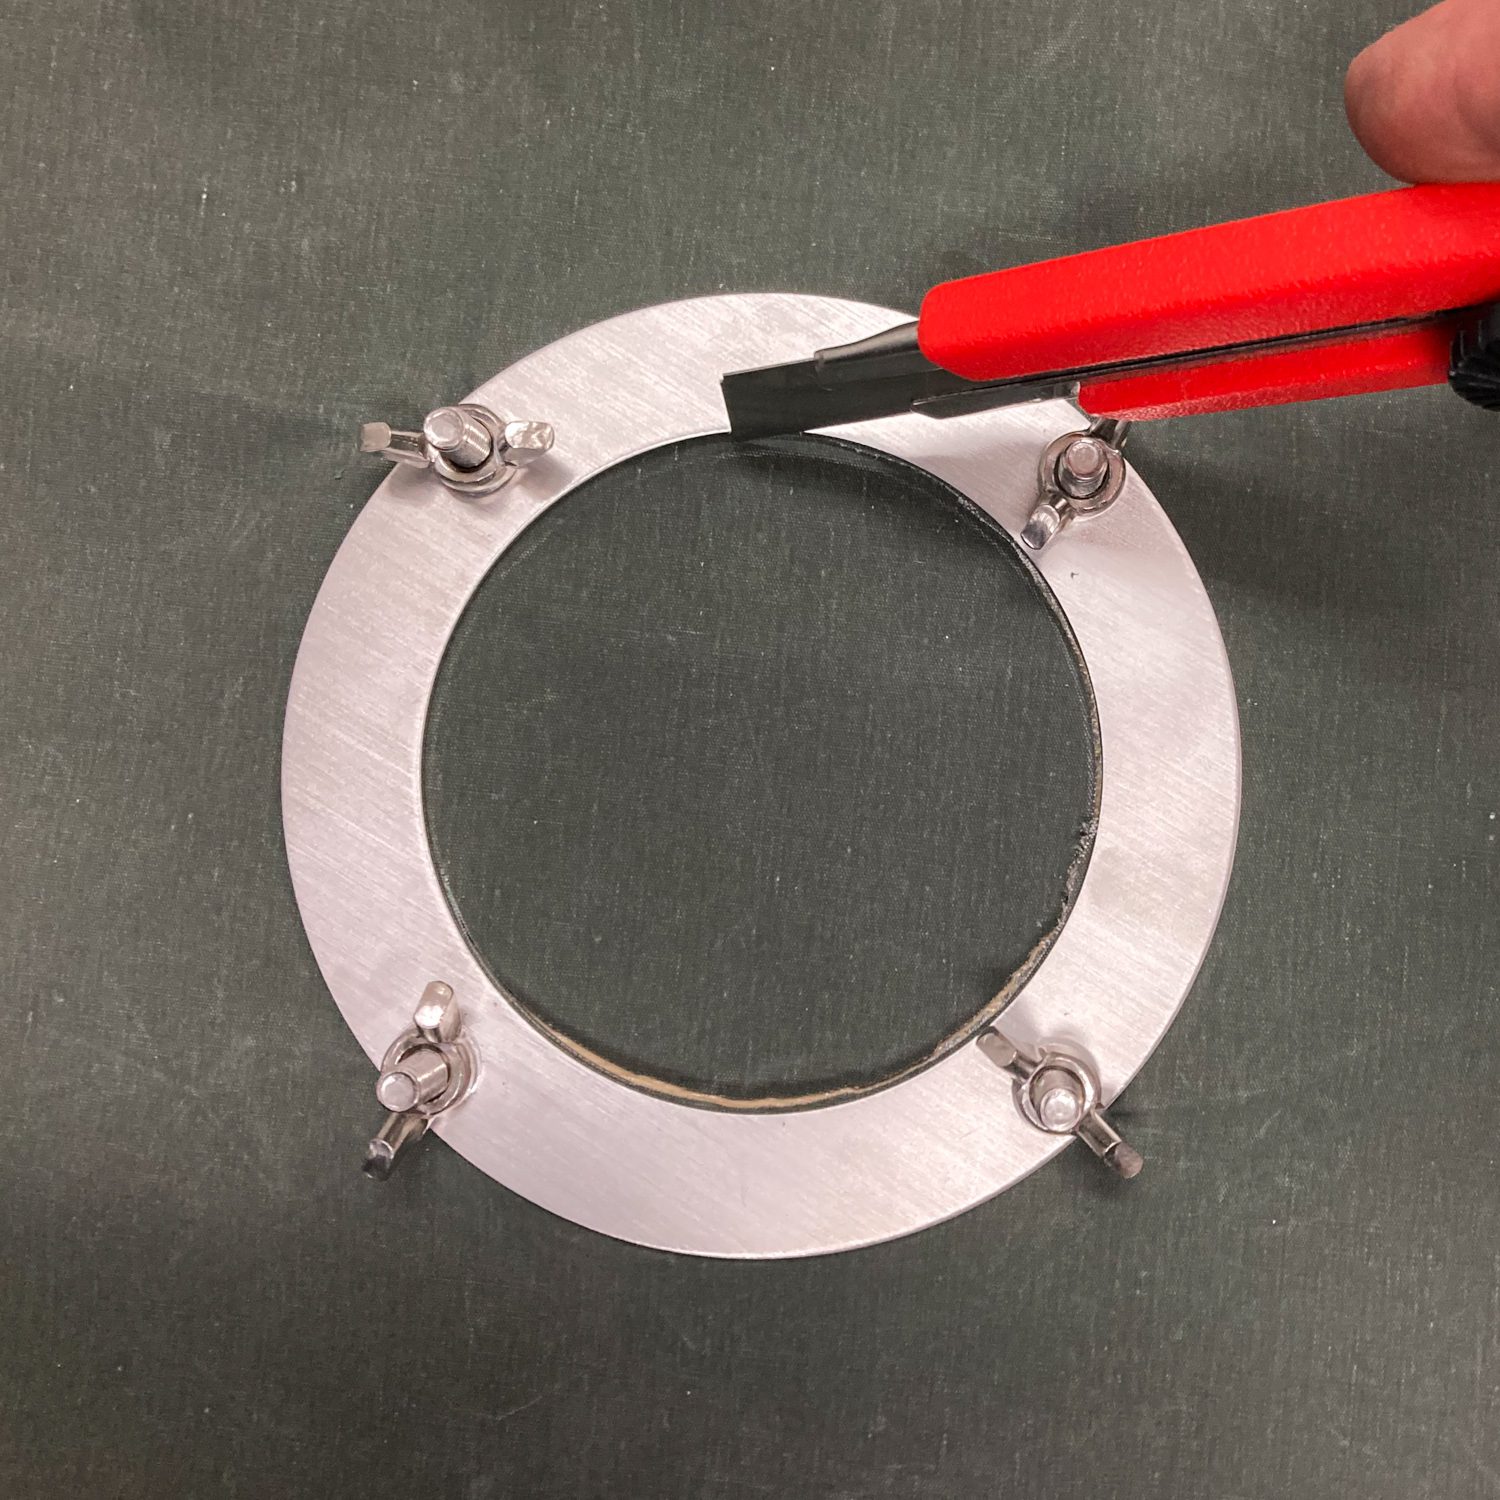
- Once Rims are secured, take a sharp blade or scalpel and cut away the canvas to make a hole for your External Air hose.
- Unbox your External Air hose and attatch it to the rear outlet at the back of your stove and adjust the connector clamp for a tight seal.
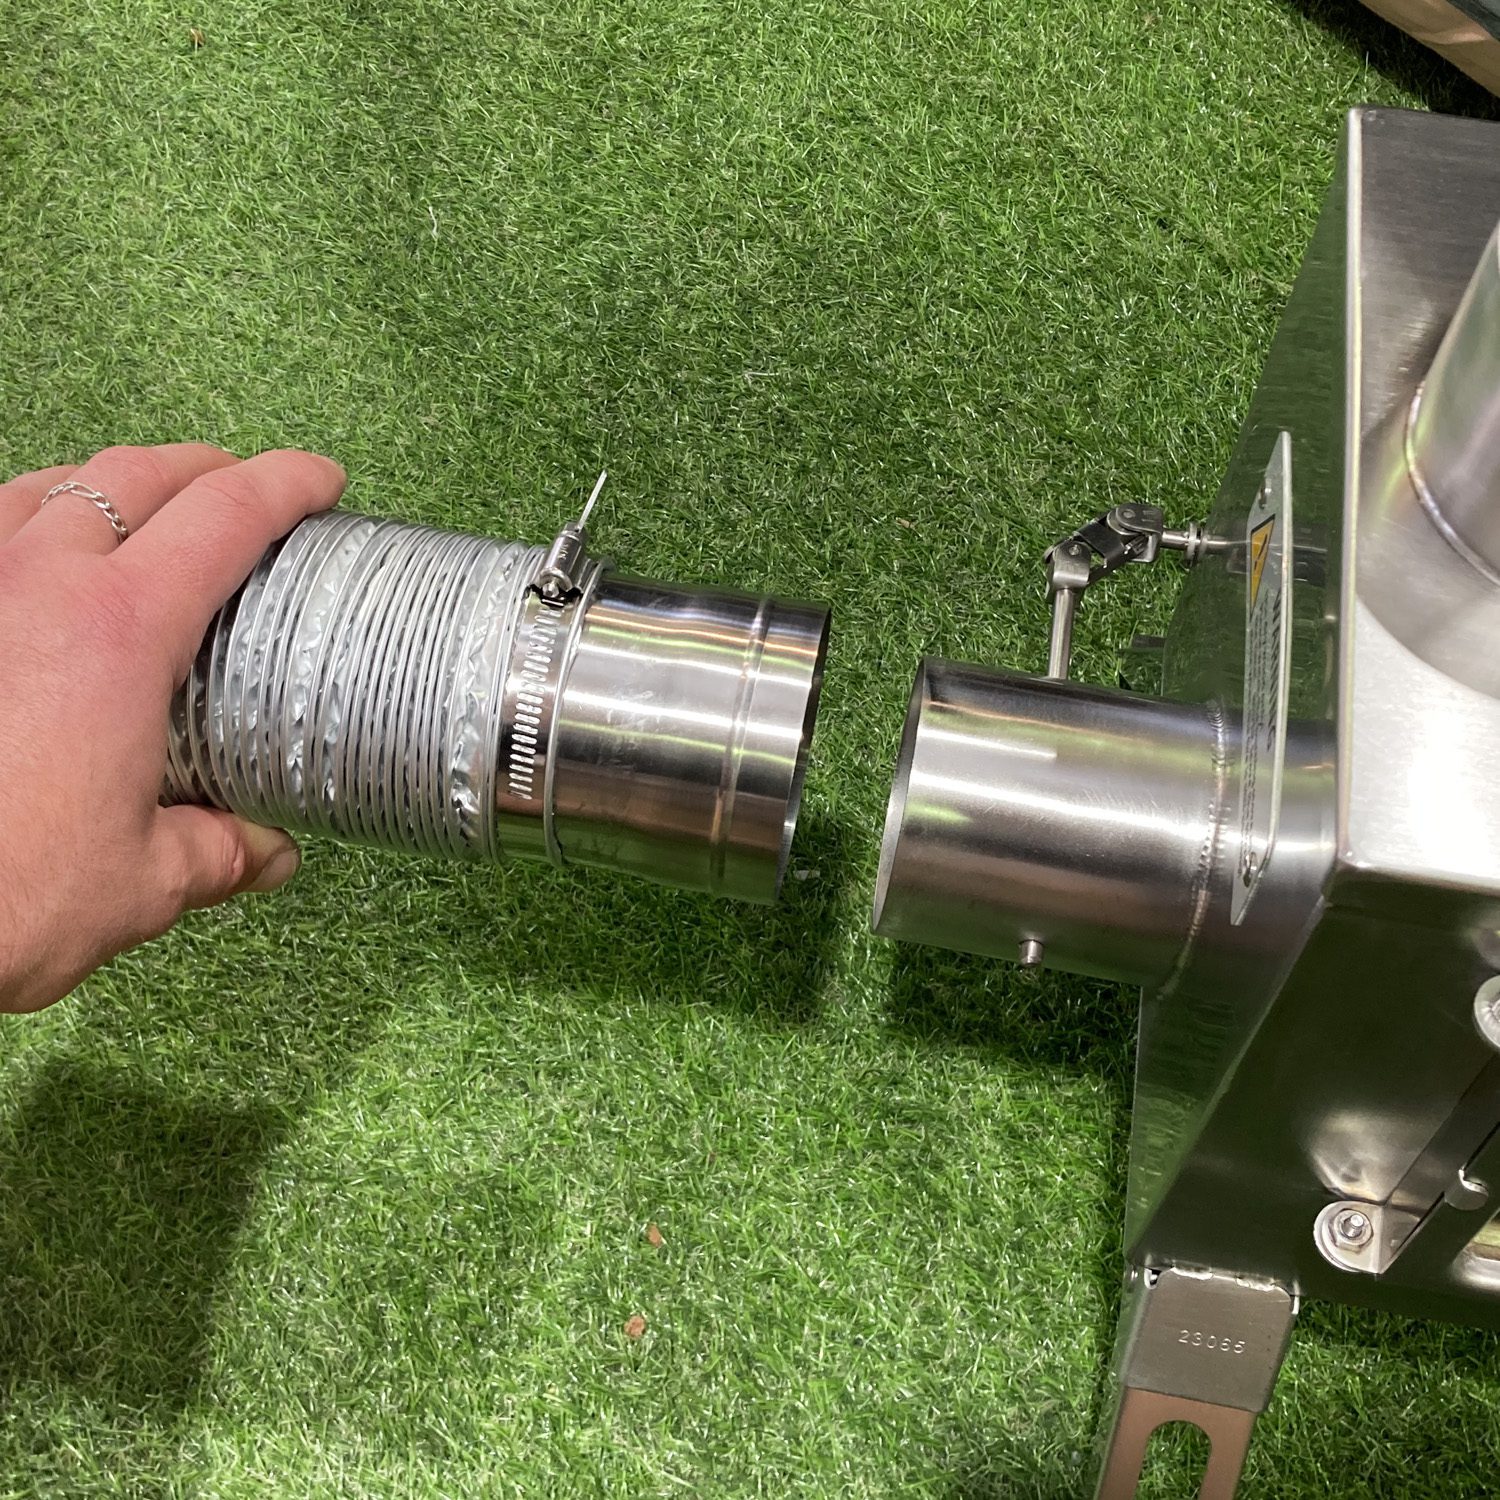
- Feed the External Air hose through the Opener and Seal Set and position alongside the exterior of the tent wall.
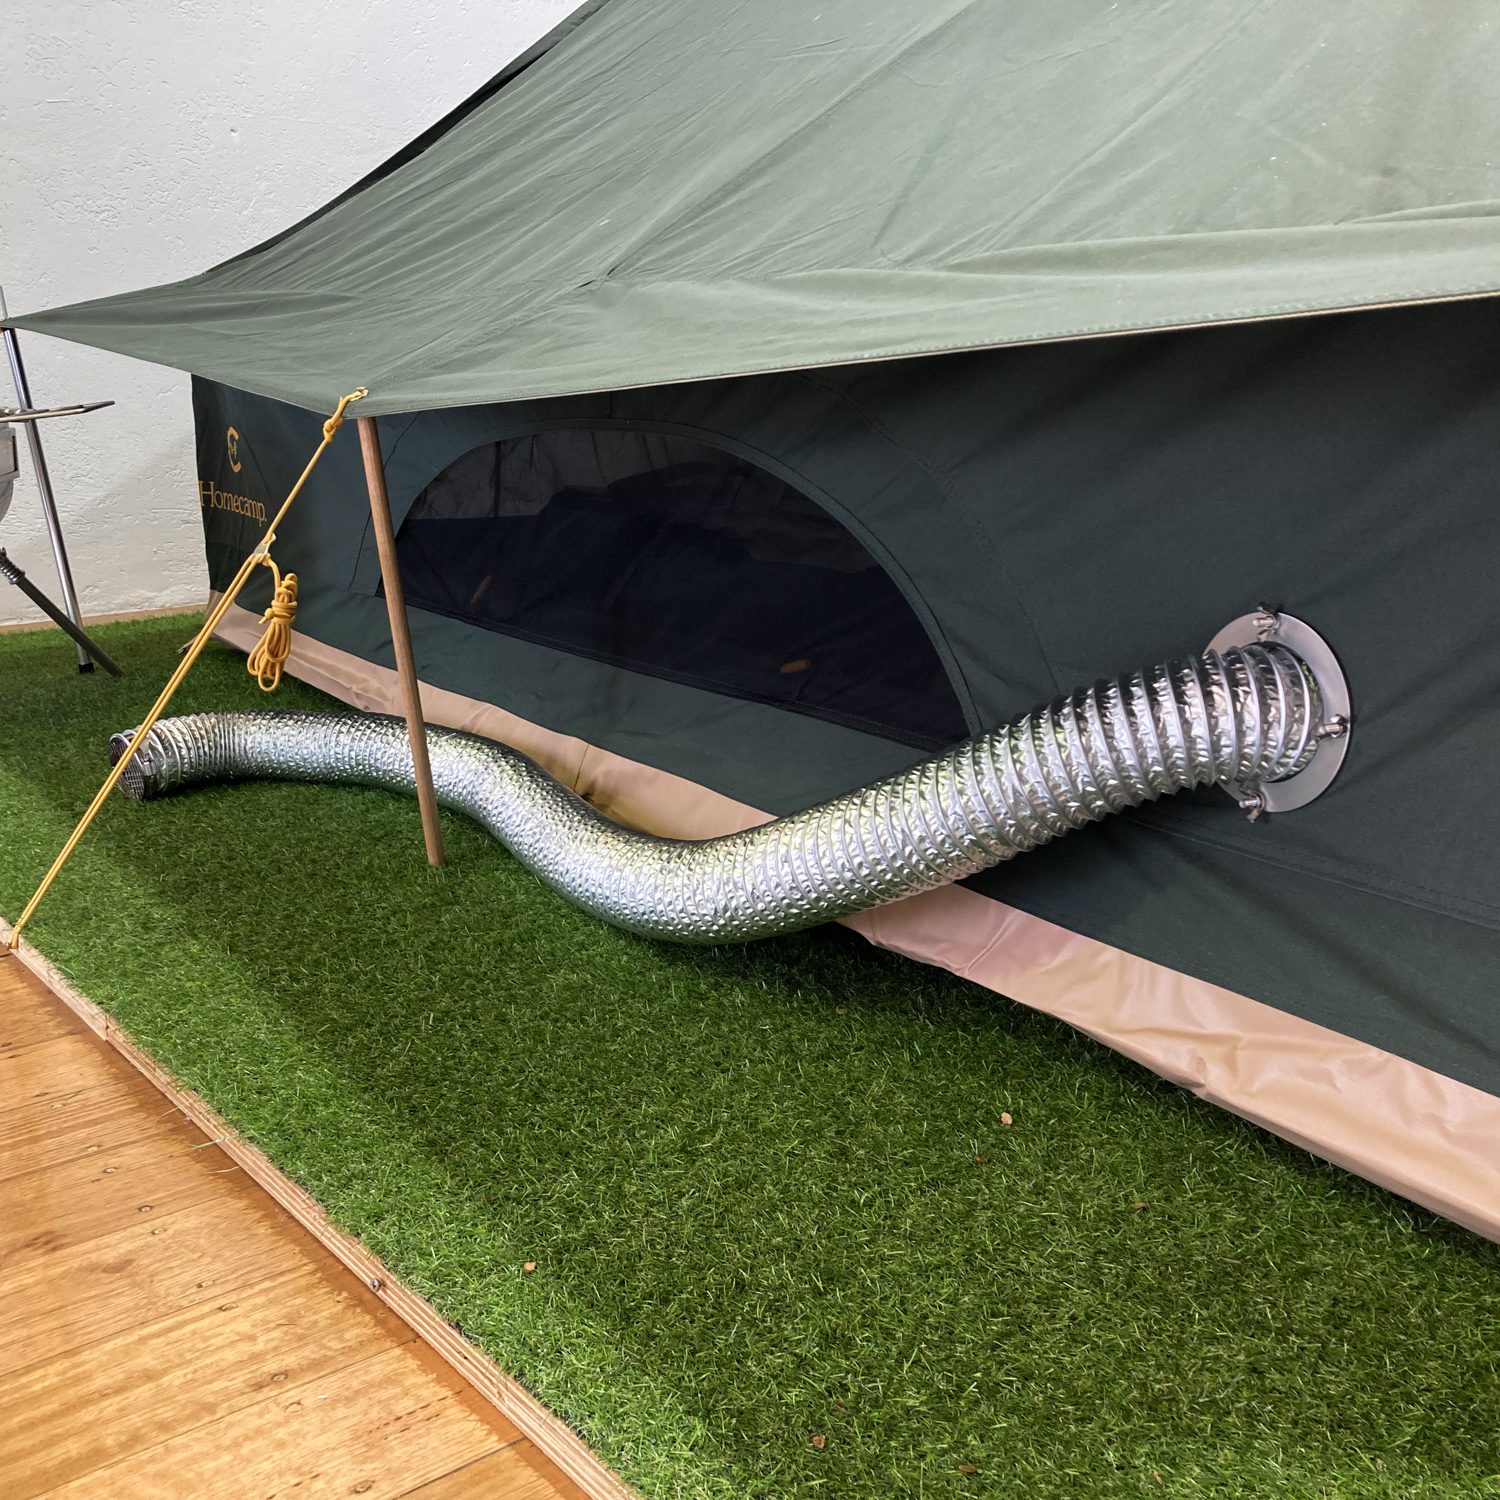
Your Winnerwell External Air Stove is now hot-tent ready. You will find a damper control on the front side of your stove, ensure it is in the open position when in use.
Be mindful when working with fire. Always read the manufacturers instructions before using your stove and practice safety.
Don’t overload your stove with fuel and always use high quality timber for burning. Not for use with coal briquettes.
For any other queries or help with your stove get in touch with the Homecamp team here.
